Enlightened Audio Education
Lesson 16
Narration tips for a professional sound and an engaging performance
Regardless of whether you choose to record your voiceover at home with your own equipment or at a professional studio under the supervision of an audio engineer, the following lesson will help you to capture a nice clear recording while expressing yourself in the most appealing way.
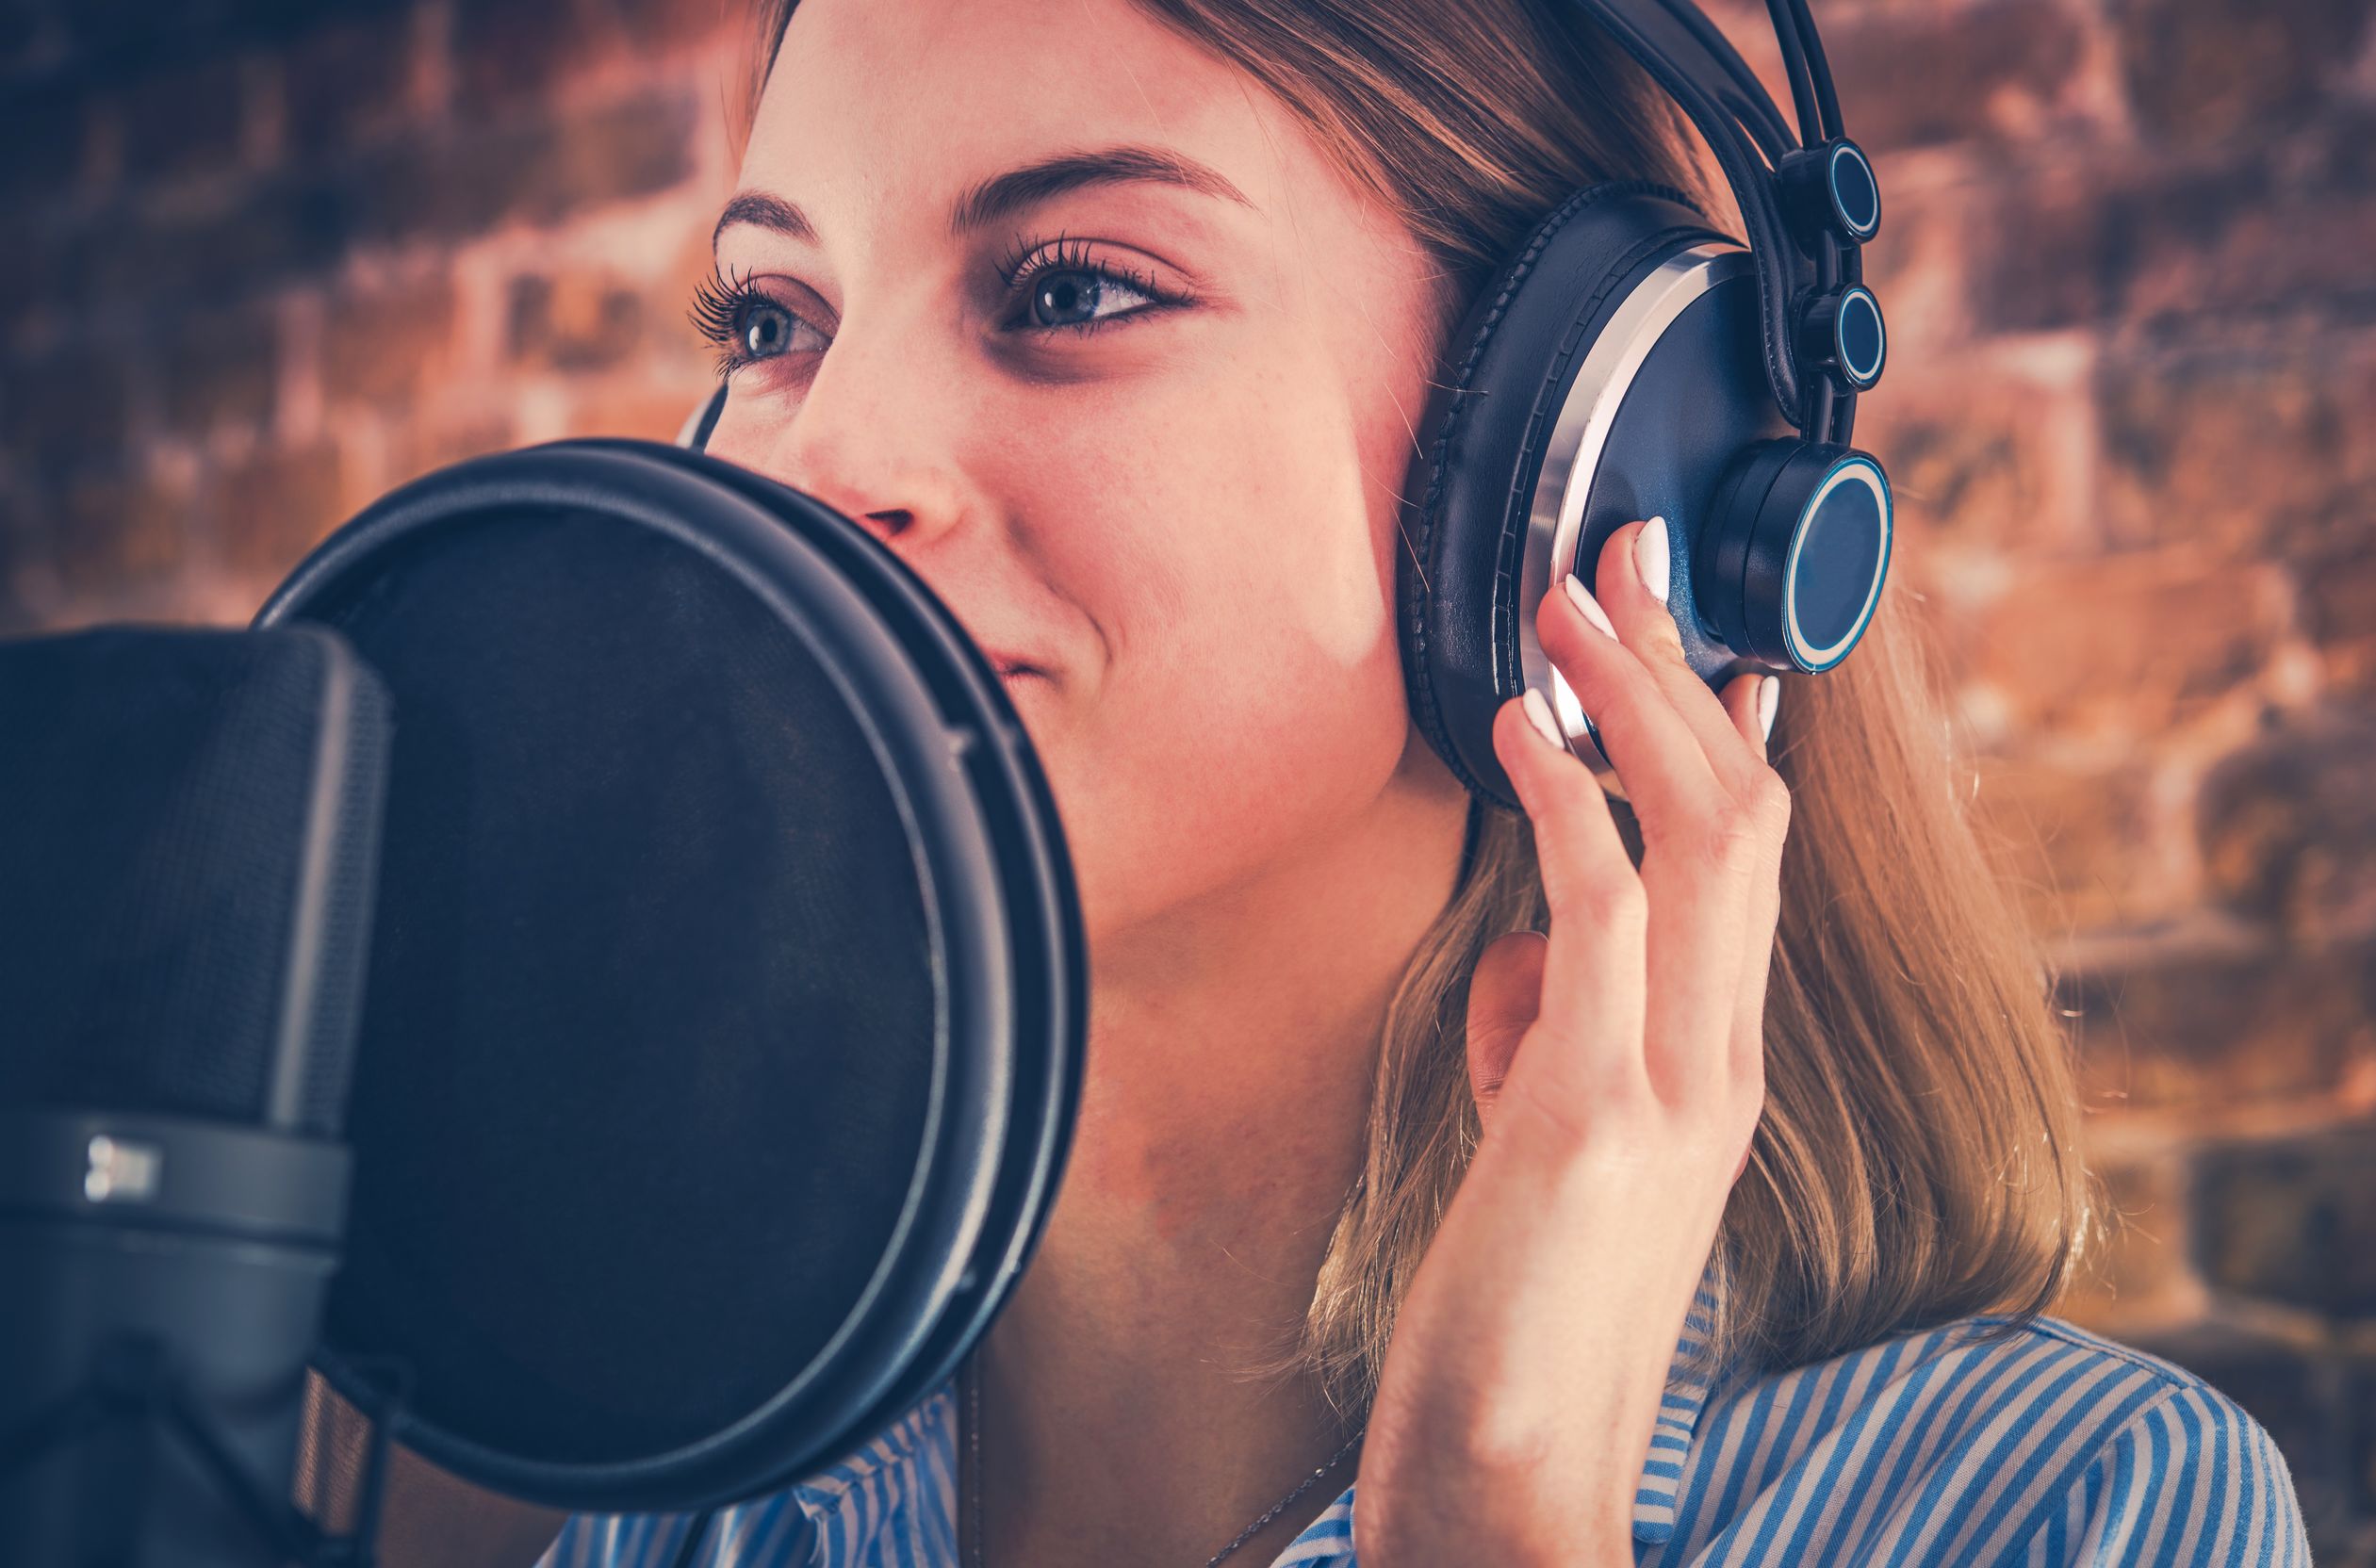
Use a microphone windshield
We already covered this earlier, but it’s definitely worth repeating. Without a microphone windshield there is a good chance that you will end up with a recording that’s full of “plosives” – those small blasts of air that escape from between your lips while you are speaking. If plosives make their way into your recording, they can be very troublesome to remove, so you really are better off to prevent them altogether.
OK. I think by now you know how important microphone windshields are. If you’re going to record yourself, go get one.
Silence is golden
Microphones are sensitive and precise, so they will pick up all the ambient sounds around you, not just the sound of your voice! The sound of your computer humming, the sound of the traffic outside, the sound of your air conditioning or the dog next door – these are all examples of sounds that can make their way to your microphone and ruin a good recording.
The soundproofed rooms available at professional recording studios completely eliminate these intruding environmental sounds, but they won’t eliminate other sounds that you might not have anticipated. The sound of your chair creaking beneath you and/or the sound of your jewellery jingling are two examples of sounds that will be captured and recorded by your microphone. Even the sound of your stomach grumbling can be captured by good quality microphones, so let’s steer clear of rich curries on the day of your recording!
“Take a deep breath in and feel yourself beginning to relax… buuuurp!”
Even the sound of your stomach grumbling can be captured by good quality microphones, so let’s steer clear of rich curries on the day of your recording!
If you don’t have access to a professional recording studio, you can still capture a great quality recording at home provided that you take reasonable measures to eliminate ambient environmental noises. Here are a few ways that you can reduce or eliminate some of these intruding sounds:
Quiet your computer
Your computer’s internal fans probably make quite a bit of noise, so move as far away from your computer as possible while recording. Don’t be afraid to use a long microphone cable and sit in another room altogether if need be. You should also try to point your microphone away from your computer. Most microphones are “directional”, which means that they do a great job at picking up the sound in front of them (your voice) and rejecting the sounds behind them (your computer). You can also use some makeshift baffles (pillows for example) to loosely surround your computer to muffle the sounds that it emits but be careful not to block its air vents completely. Without airflow your computer can and will overheat.
De-jingle yourself
Remove any jingly jewellery and/or “swishy” clothing. Alternatively, you’ll have to master the art of sitting Zen-still while recording. But seriously, if you dress like a walking windchime then it’s time to tone down your trinkets. While you’re at it, check to make sure that your chair is squeak free too.
There is a good reason why Mr. T never made it as a meditation recording artist.

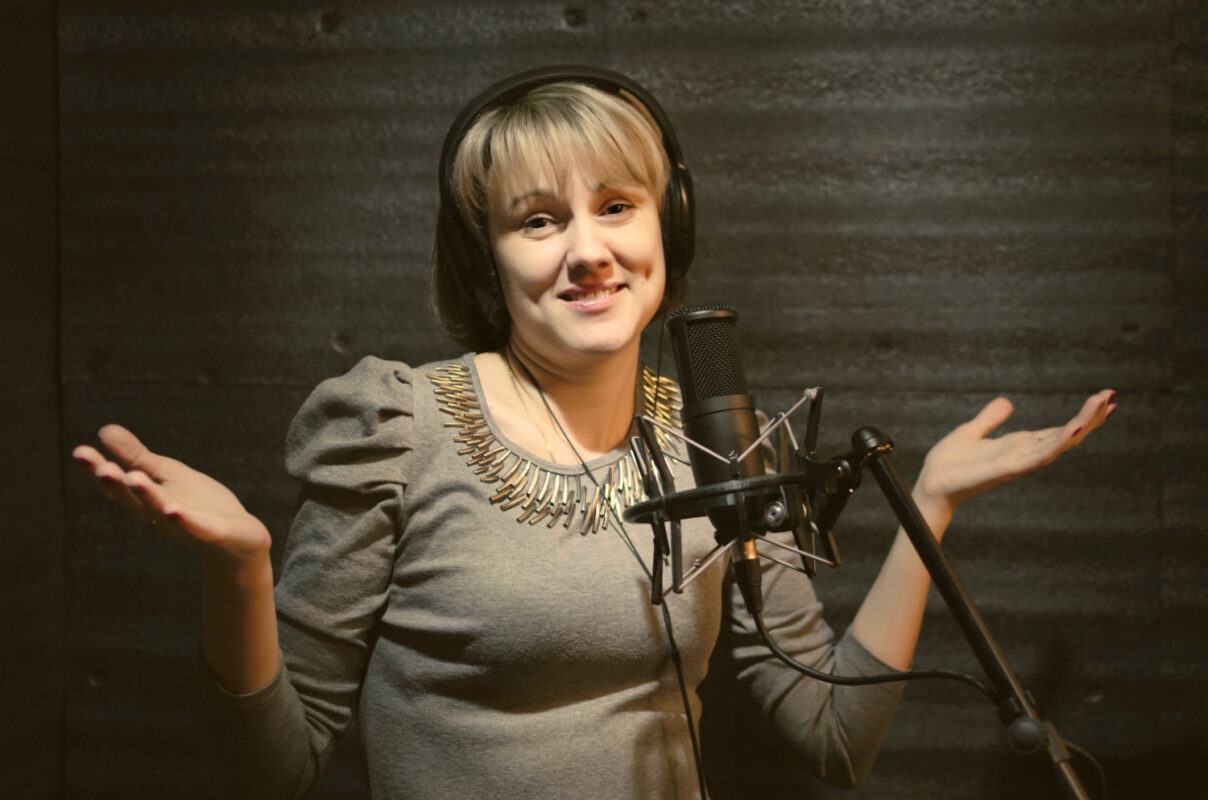
Use headphones
If you wish to listen to relaxing background music while recording, you must use headphones. Playing music on open speakers will ruin your recording because your vocal microphone will also record the distant sound of music in mono, and this will not sound good. To create a professional recording, you will capture your voice recording in a quiet space and then mix it with music later.
Pick your moment
Typical suburban homes are often subjected to too much noise for daytime recording. If external noises like passing cars, turbulent winds or dogs barking are a problem, move to a more quiet location in your home or business, or record late at night when the hubbub of the world has died down.
That room right at the back of your house, or even your closet can be used as a makeshift recording space. It might surprise you, but I do know of professional voiceover artists who use the walk-in robe in their bedroom for recording. A small space like this, filled with clothing and bedding linen, might just be the best room in your house, acoustically speaking.
A quick word on “masking” background noises with music
Keep in mind that the music you add to your recording will help to mask some unwanted background noises, especially persistent, low volume noises like computer fans or air conditioning units. Intermittent sounds, like a dog barking for example, can be more intrusive and are probably going to be heard above the background music.
In short, some sounds, provided that they are reasonably quiet to begin with, will be completely drowned out by the music. This means that completely silent recording conditions, while ideal, are not essential to your success.
Perfect microphone position
How you position your mouth in proximity to your microphone will have a dramatic effect on the quality of the sound you record.
I recommend that you sit or stand with your mouth approximately 6-12 inches from the head of the microphone. A handy way to gauge this distance is to spread your thumb and little finger well apart from each other and use this span as an improvised measuring stick.
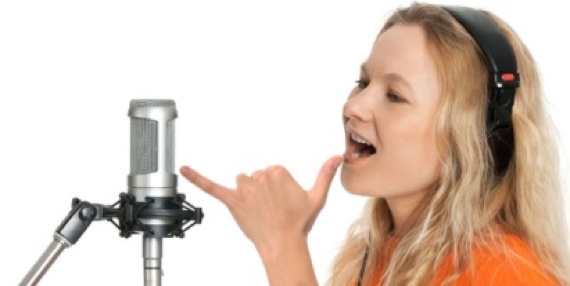
Getting very close to your microphone (6 inches or even less) can give you a really nice intimate sound, but be very careful not to get too close. Most microphones exhibit what is known as the “proximity effect” when placed too close to your mouth, which can result in a rather boomy, bass-heavy sound.
Standing too far away from the microphone (more than 2 feet) will make your voice sound a little thin, and will also allow an excessive amount of natural room echo to sneak into your recording.
Try to keep reasonably still (if possible). If you move around a lot or swing from side to side then the volume and tonality of your recording will constantly change, making your performance sound unnatural.
As mentioned in a previous lesson, audio examples that illustrate problems like excessive background noise and standing too close or too far away from your microphone are all available in the Tuning in to Sound Quality tutorial.
Relate to your listener
All the tips we’ve explored so far have related to acoustics, recording techniques and recording technology. But a great voiceover recording requires more than just the right gadgets. Those gadgets will take care of turning your voice into digital data, but it’s up to you to bring the magic. And by magic I mean PERSONALITY.
In an earlier lesson I wrote briefly about the importance of being spontaneous, natural and going “off script” when recording your voiceover. It bears repeating at this point. While you are recording yourself speaking, do your best to imagine that a real person is in the room with you and that you are speaking directly to them. Relax and speak casually as if you were relating to a friend, rather than as someone who is reading from a script.
Record in one sitting if possible
What I mean when I say, “Record in one sitting” is that you should aim to take care of your entire voice recording in one session, rather than recording it in sections over the course of a few days or weeks. This is “best practice” for hypnosis and meditation recordings. There are two main reasons for this.
Firstly, your vocal tone may change quite dramatically from one day to the next and from one time of the day to another. For example, your voice will probably sound a little different when you first wake up in the morning to the way it sounds during the middle of the day.
All sorts of factors affect your vocal tract and the sound of your voice. For example, your level of hydration can influence the sound of your voice. Changes in stress levels and the tension in your vocal chords will change the pitch of your voice, and changes in your mood may influence the way you express yourself. This leads us to the second reason why it is especially important for hypnosis and meditation recordings to be completed in one session…
The pace of your speaking may change quite distinctly if you break your recording session into parts. As I’m sure you are aware, the energy and tempo of your delivery are important factors when guiding a person into a state of deep relaxation.
A little bit of drift in the pace of your speech is entirely natural and not something to worry about. But sudden changes are undesirable, and they can creep in unexpectedly if you split the recording process into parts separated by hours or days. Hypnosis and meditation recordings often run for more than 15 minutes at a time, which means that you may be speaking continuously for quite a while. As you guide your listener through a relaxing journey, you’ll probably find yourself getting quite relaxed as well and your inclination may be to slow down the pace of your speaking and to soften your vocal tone. I would consider this kind of gradual change to be entirely natural and quite complementary to meditation and hypnosis recordings. But if you have to halt this process, leave that lovely state of relaxation and return to record the remainder of the journey at a later time, then you may find yourself in a completely different frame of mind. This can result in changes to your tone and tempo that are quite audible.
So, if you need to split up the recording process then keep the following tips in mind:
- When you return to record the remainder of your script, listen to what you have recorded thus far and do your best to match the pace of your original delivery.
- Record at roughly the same time of day if possible.
- Break your narration into sections that correlate with paragraph breaks in your script. This will allow you to insert a short speaking break of say 10 – 15 seconds between today’s recording and the previous day’s recording. This gap helps to make any changes in your tone or tempo a little less apparent to your listeners.