Enlightened Audio Education
Lesson 14
Recording equipment – What you’ll need to create your own recordings
Let’s get to know what equipment you will need in order to record your own voiceover, mix it with music and then create a finalised audio file. There’s a good chance that you already possess some of the equipment you need!
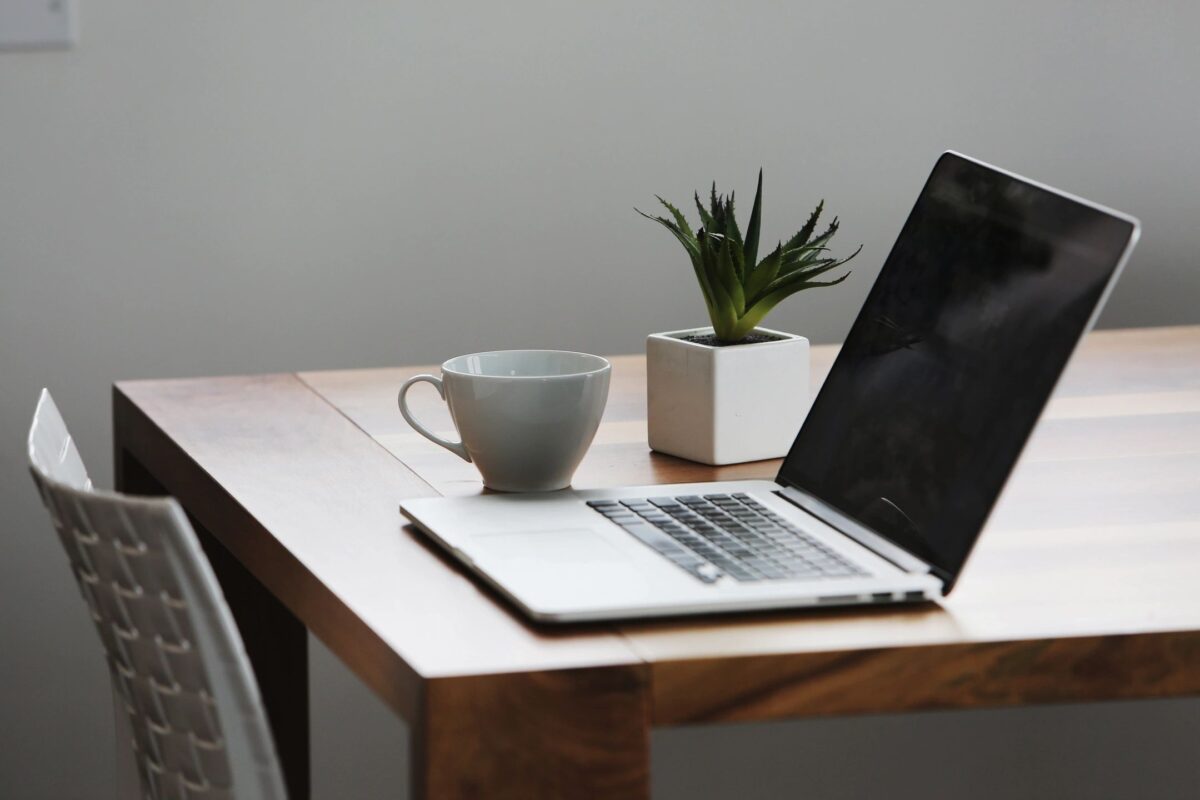
1. Computer
No big surprise here. You probably already have one or more of these. Both Macs and PCs will allow you to create a professional quality audio production. Desktop computers and laptop computers will both suffice.
The good news is that you do not need a particularly powerful or expensive computer to create your own recording. Virtually any computer that was built from 2005 onwards will have the processing power necessary for you to create a recording and mix it with music. Even the cheapest, most modestly specified modern computer will probably have 50 times more power than you actually need. So, you can probably tick “computer” off your list right away.
2. Microphone
A good quality microphone is the next most important part of your recording setup. The right microphone will mean the difference between a clear, full-bodied voice recording and a thin, harsh sounding one.
Don’t even think about using the built-in microphone on your laptop or phone. You will need to invest in a microphone that was designed for voiceover recordings. Fortunately, these are now cheaper and easier to use than ever. In just a moment we will spend some time exploring exactly what microphone is right for you.
3. Microphone Stand
A microphone stand is a useful and inexpensive accessory that serves two essential functions:
- It will keep the microphone still, which helps to ensure that your recording has a consistent quality of sound. If you hand-hold your microphone, it’s easy to accidentally let it drift from side to side or further and closer to your mouth. This can lead to noticeable changes in the tonality and volume of your voice recording – changes that can be a bit annoying for someone who is listening to you while in a deep state of relaxation.
- It will prevent you from accidentally bumping or fumbling with the microphone in your hand. The slightest movements can cause loud thumps in your recording. Microphones are very sensitive, and they need to be held safely in a stand that eliminates vibrations.
Some microphones come bundled with their own stand, but if yours isn’t then you can probably pick one up for as little as $20. Microphone stands come in various shapes and sizes – from short desk mounted stands, which are a perfect option if you’ll be sitting while you record, to taller stands that will hold your microphone at head height if you are standing up.
4. Microphone Windshield
Equally as important as your microphone stand is a microphone windshield, otherwise known as a “pop filter”.
Windshields eliminate “plosives” – small bursts of air that come from between your lips when you pronounce words with Ps and Ts in them. Words like “prism” and “stutter” are two examples. Plosives cause popping/thudding sounds in your recording and are one of the most common mistakes that DIY recording artists make. Plosives can really ruin the ambience of a good hypnosis or meditation recording, so I highly recommend you grab a pop filter. You can find them on eBay and Amazon in new condition for less than $15.
Tip: Want to hear a plosive for yourself? These are featured in the “Tuning in to Sound Quality” tutorial I mentioned in the previous lesson.
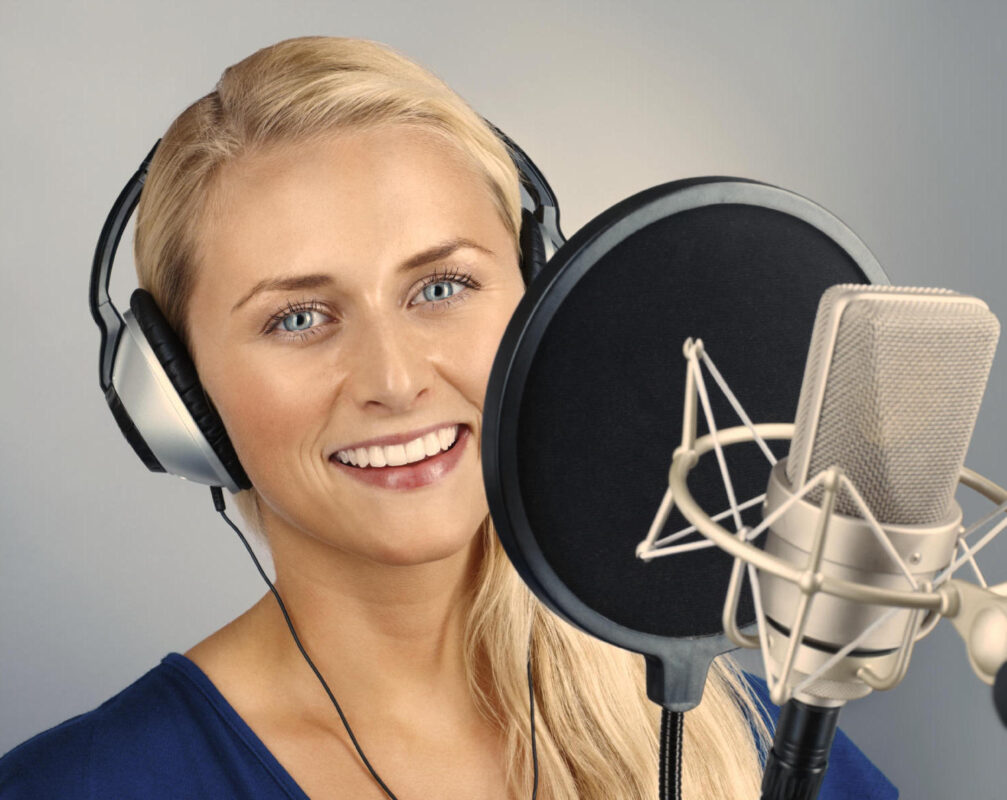
Some microphones come with a soft foam windshield that covers the head of the microphone. These do provide some protection from plosives, but they are often insufficient, especially when you’re up close to your microphone while recording a relatively quiet vocal performance. You will need a proper mesh windshield like the one shown in the image.
This type of microphone windshield is usually constructed of a sheath of nylon material that is stretched over a circular frame. The windshield provides a buffer between you and the microphone and will eliminate most plosives entirely.
D.I.Y. Tip: It is possible to create your own makeshift windshield by stretching a nylon stocking over a coat hanger. Open the coat hanger out so that it offers you a large surface area and then tape the windshield to your microphone stand so that the nylon shield sits a few inches proud of the microphone itself. It might not be pretty, but it will be quite effective as a windshield. Research suggests that black stockings eliminate plosives more effectively than other colours (just kidding).
5. Software for recording and editing sound
You will need a program that is dedicated to the task of recording and editing audio. There are dozens of programs to choose from and fortunately, there are some very capable recording programs available for free.
Apple computers come with a free program called Garageband – a very well featured audio program indeed.
For Windows users, one of the most popular free audio editing programs is called “Audacity”.
This chart shows how commonly these programs are used amongst people who create meditation and hypnosis recordings. The data for this chart was sourced from clients of Enlightened Audio (rather than the wider community of people working in the audio and music industry).
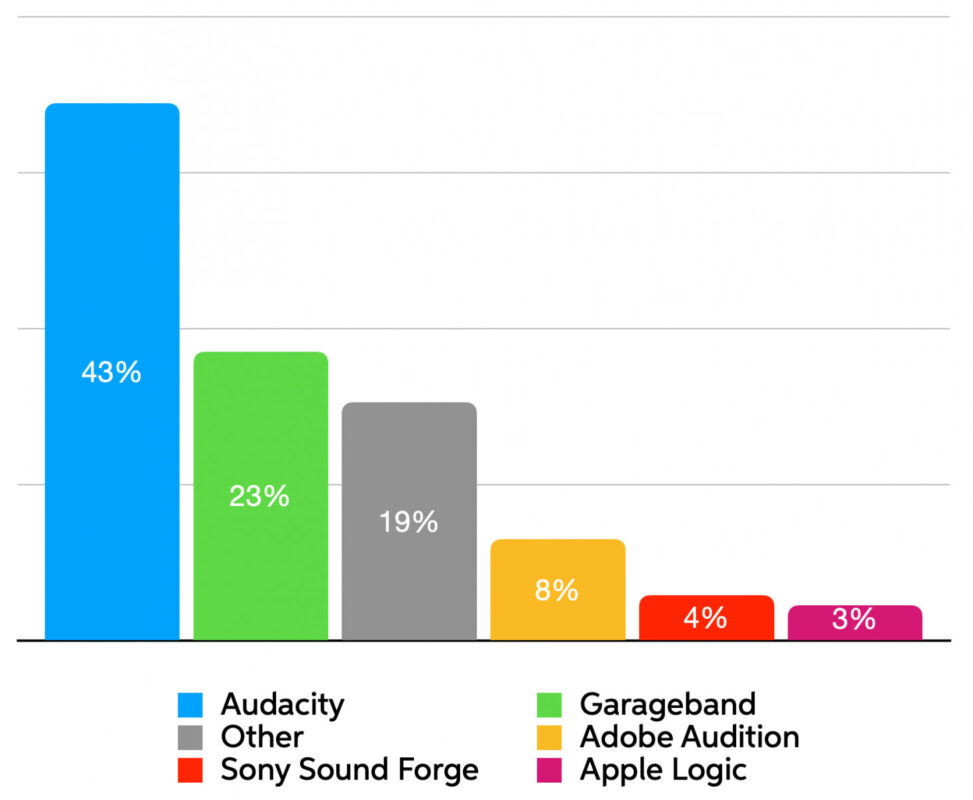
Both Garageband and Audacity have a very large user base and as a consequence, support and guidance from fellow users is never far away. There are innumerable online tutorials and instructional videos that provide comprehensive user instructions and there are also forums dedicated to community support for Garageband and Audacity users.
Both Audacity and Garageband will allow you to record to your computer, perform all necessary editing tasks and produce a finished audio file without spending a single dollar.
Are there better recording programs available? Certainly, but there’s a good chance that the features that make them “better” are features you don’t need. For example, I personally use the program “Logic Studio”, but as a musician I require more from my audio production software than you will need to record a voiceover and mix it with music. Logic Studio costs about $200 USD, but for a meditation or hypnosis recording you can achieve virtually identical results using either Garageband or Audacity for free.
Note that the “Other” category includes over 15 other programs, all constituting a very small percentage each.
https://www.apple.com/mac/garageband/
https://www.audacityteam.org
We will get to know a little more about recording software and how to use it in a later lesson.
Important Tip
There are many other sound recording programs available. They all differ in terms of (a) how they look, (b) what they cost, (c) how they function and (d) how many features they include, but there is very little difference between them (if any) in terms of sound quality. So don’t ever be swayed by the opinions of people who claim that one program sounds better than another. The recording hardware you choose (your microphone for example) will have some bearing on the quality of your sound, but your recording software will not.

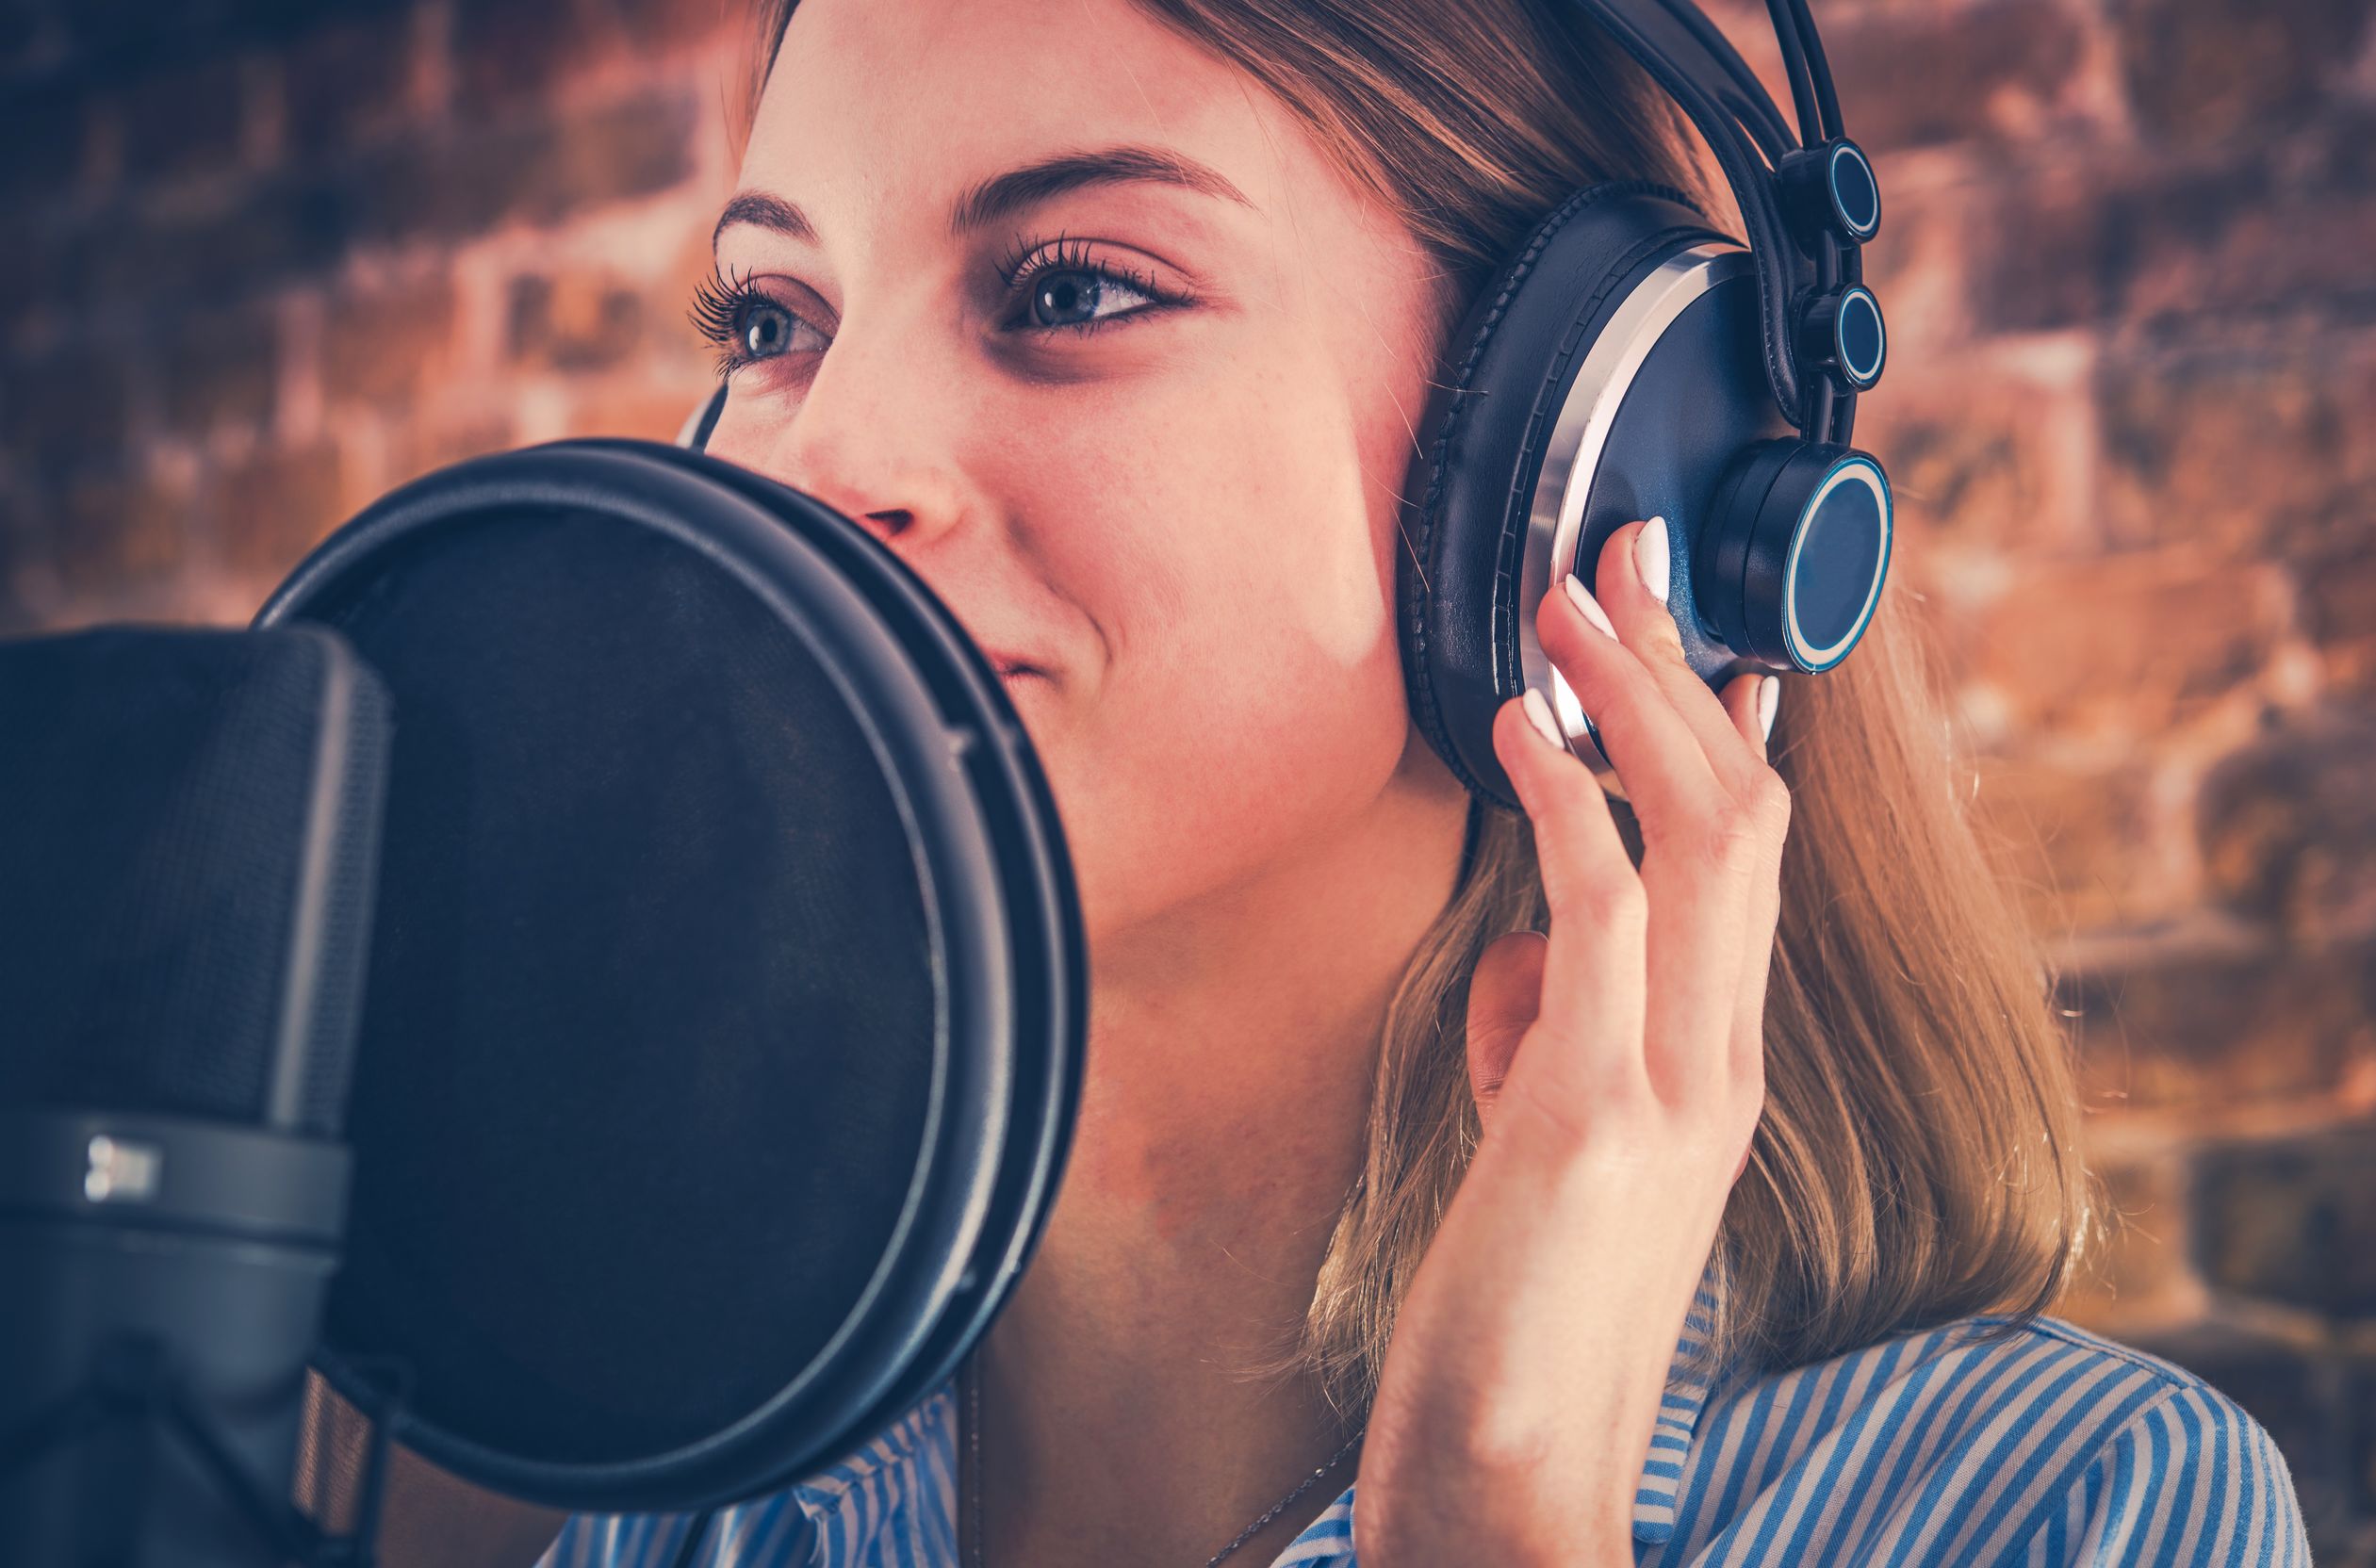
6. Listening Equipment
In order to review and evaluate the quality of your recordings, you’re going to need some speakers or some headphones, or both.
Don’t even think about using the tiny little speakers in your laptop for listening purposes. The resolution of most in-built computer speakers is extremely poor. In order to properly assess the sound quality of your recordings you will need quality speakers and/or headphones.
There’s that word again: “Quality”. How on earth do we define quality when it comes to headphones and speakers?
That’s a tough question to answer. If we resort to the old adage, “You get what you pay for”, then I’d say that you will need to invest in some speakers worth more than $100 and/or headphones worth more than $50.
That might sound like a lot of money to some people, but let’s put things into perspective for a moment. Speakers are one of those commodities that vary so greatly in quality that they can cost as little as $5 or as much as $100,000 (or more). Most professional recording studios wouldn’t dare use speakers worth less than $1,500.
Suddenly $100 doesn’t seem quite so bad, does it?
If you have to choose between headphones and speakers, then here’s what I recommend…
Headphones have the edge. For D.I.Y. recording enthusiasts I often recommend headphones over speakers.
Headphones can often be purchased for much less than the price of a qualitatively equivalent set of speakers, and they also have one additional benefit: they help to block out background noise. This can be a real blessing if you, like most people, do not have a perfectly quiet studio space in which to review your recording projects.
Headphones present sound directly to your ears, and this may make it easier for you to notice flaws in your recordings. With headphones on, you may find that errors will jump out at you in a more obvious way than if you review your recording while sitting back at a distance from your speakers.
If you absolutely, positively cannot stretch your budget to incorporate a new set of speakers or headphones, and if you can’t borrow a pair temporarily, then yes, you certainly can use the headphones or earbuds that came with your phone or iPod. They might not be “studio quality”, but they will certainly get the job done.
Important Tip
One way to save on speakers and headphones is to use whatever cheap speakers or headphones you have available during the recording process. Then, once you have completed your recording, play it on the best stereo system you have in your house (or your friend’s house). This will give you the opportunity to double check your recording and recognise any qualitative problems before you start distributing your beautiful creations.
What about recording with iPads (and other tablet devices)?
I’m constantly amazed at the breadth of capabilities and immense computing power of modern-day mobile devices like iPads. For recording purposes, they can be used in place of a normal computer.
I don’t have much personal experience recording with iPads, but I would like to offer a few comments for those who might be thinking about going down this path.
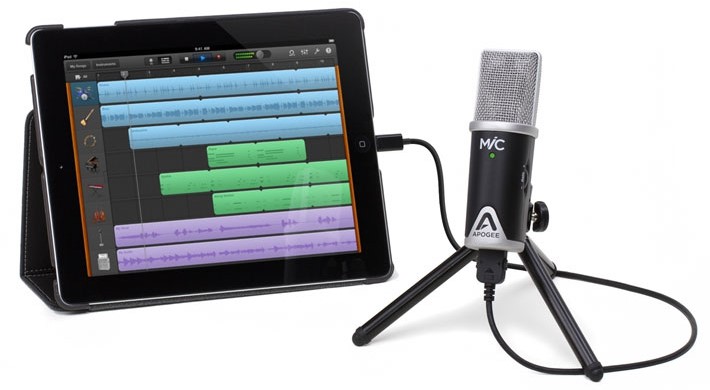
One of the upsides of iPad recording is that iPads make no noise, so you won’t have to worry about the sound of whirring computer fans making their way into your recording. You’ll need to obtain a microphone that is specifically designed for recording to iPads, such as the Apogee Mic+ which I can certainly recommend.
In the image, the iOS version of Garageband is in use on the iPad. This is a surprisingly easy program to use, and it can do almost everything you need in order to create your own recordings and mix them with music. The only downsides are that it is not quite as well featured as the desktop version, and you may find it a bit fiddly to edit your recording using your fingers rather than a mouse.
In closing…
There are two points I’d like to make at the closing of this lesson.
The first is that I want you to take a deep breath and relax if you found yourself getting overwhelmed by the thought of all this new equipment. I know that some of the technology we’ve explored might be foreign to you, but once you start using it you will realise that it’s no more difficult to install and operate than a smart TV or your phone.
Secondly, I want to strongly encourage you to move forward and not be deterred by the costs involved in establishing a recording setup of your own. The money you will spend on recording equipment is a great investment. Not only will it enable you to create an unlimited number of recordings at your convenience, you will most likely recoup these initial costs over time as you start distributing your creations.
In any case, you probably already own the most expensive piece of equipment required – your computer – in which case the purchase of a microphone might be the only significant cost you face. The addition of a microphone and a few other accessories are going to transform that computer of yours into a creative powerhouse that will allow you to reach people all over the world.